


Support

-
Qucik link
-
Hot Searches


High frequency FAQ
-
Which Large Language Models (LLMs) are integrated?


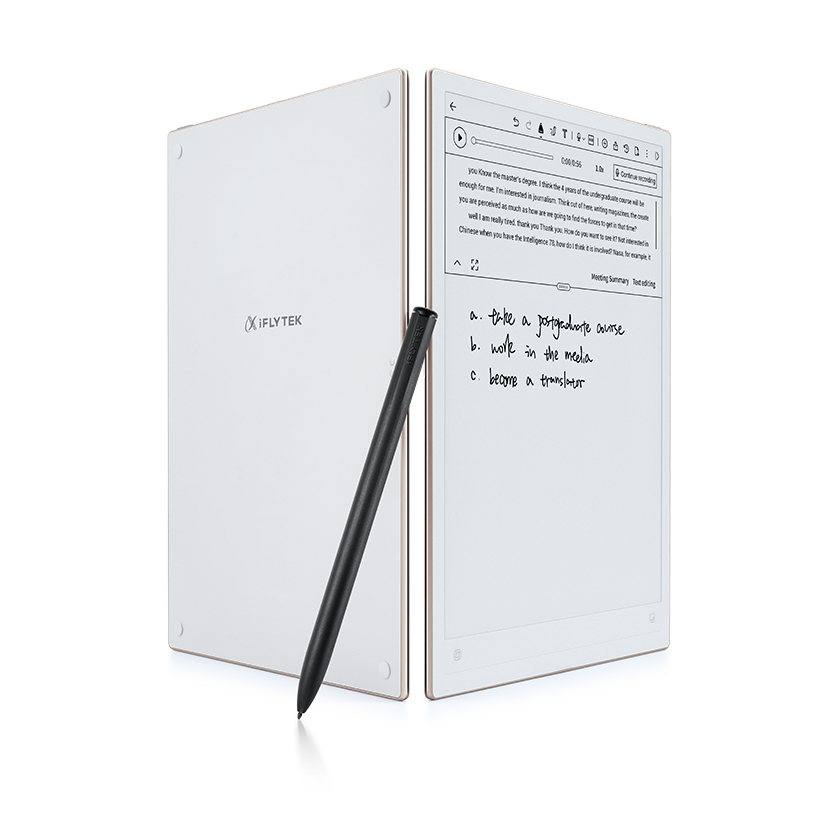
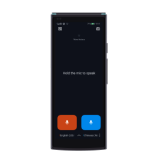
The device features built-in proprietary offline transcription and interpretation large models supporting five languages, including Chinese, English, Japanese, Korean, and Russian, without requiring network connectivity. It also integrates with OpenAI cloud models for AI summaries, structured meeting minutes, AI-powered Q&A, mind map generation, and intelligent content extraction.
-
What are the transcription accuracy and processing speed?
Under online conditions, transcription accuracy reaches up to 95% for Chinese, 94% for English, 85.8% for Japanese, 80% for Korean, and 80.3% for Spanish. One hour of audio can typically be transcribed in approximately five minutes under non-real-time processing conditions.
-
Cloud files will not be deleted simultaneously.
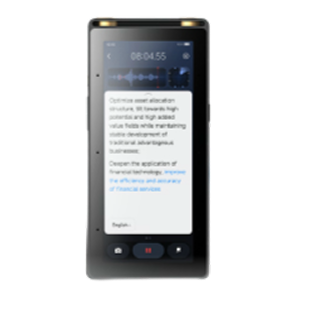
Can recording continue when the iFLYTEK Smart Recorder Pro(502T)'s memory is almost full?
-
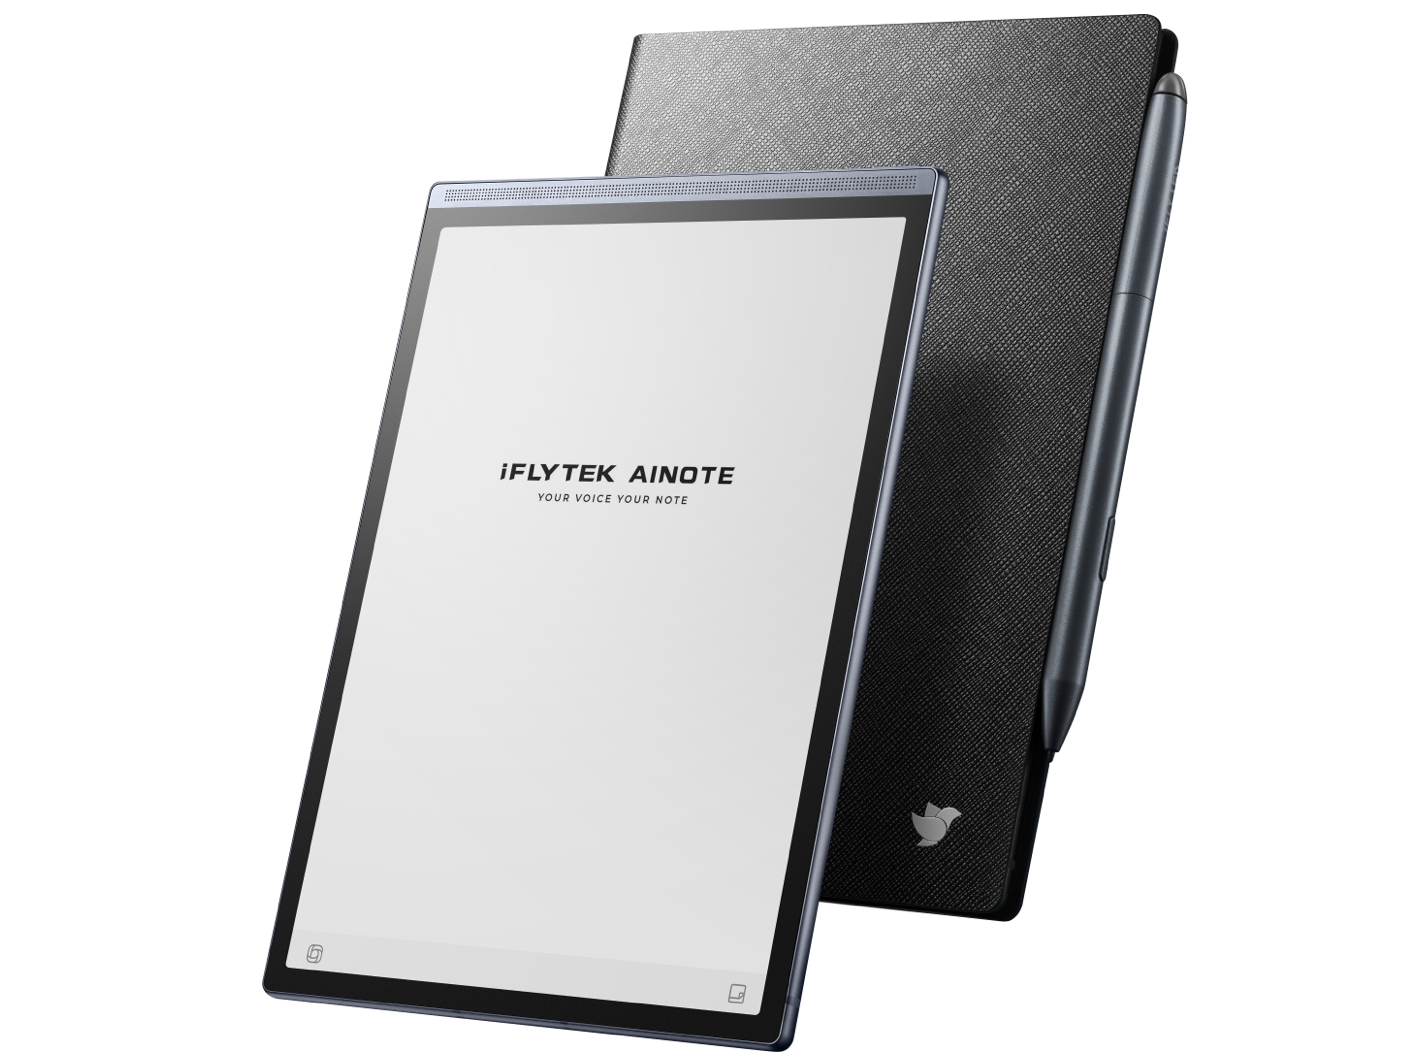
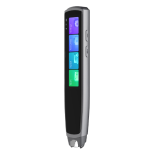
What materials and color options are available?
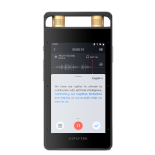
The body is constructed with aerospace-grade aluminum and features an AG glass back panel. It is available in Starry Gray.
-
How to claim the cloud storage for the iFLYTEK Smart Recorder Pro(502T)?
When you use iFLYTEK Smart Recorder Pro for the first time, a pop-up will automatically appear for claiming cloud storage, and you can claim it directly. If you skip this step, you can still access and claim the cloud storage benefits later via the "Me" section.